If you own a car, tire deflation is a common occurrence you face when you are on a long drive. Even a nail or a small piece of sharp metal can be the culprit in puncturing the tire and releasing the air. That is why you need to learn how to patch a car tire that is completely or partially deflated when you are far away from any automobile shop.
Although the flat tire must be taken to a tire repair shop for inspection, it may not always be necessary to replace it. The tire will need only a simple repair or replacement depending on the puncture and how serious the damage is.
Patching a car tire isn’t rocket science; you can easily patch your tire like a pro after reading this guide. This guide provides step-by-step instructions for patching your car tire like a pro.
How to Repair a Car Tire With Puncture Repair Kit
What do you do when your beloved offroad vehicle falls victim to a flat tire? You buy that tubeless plug kit. You may have been given one before through the owner’s manual of the dirt bike you ride so often. But if not, never fear!
This durable T-handle tool has a threaded handle for a secure grip, and it gets the job done with any size hole, from slits to gapping punctures. It also includes everything you’ll need:
- 5 Tire Strings (multi-usage);
- 1 Tube of Rubber Cement (durable plugs will last as long as tube);
- 1 T-Handle Reamer;
An efficient tool with a polished steel blade perfect for installing those tough tires!
Finding the Leaks
Leaking tires are a pain. You need to find the leak first before you can fix it. There are several ways you can find the leaks:
Finding a leak without water
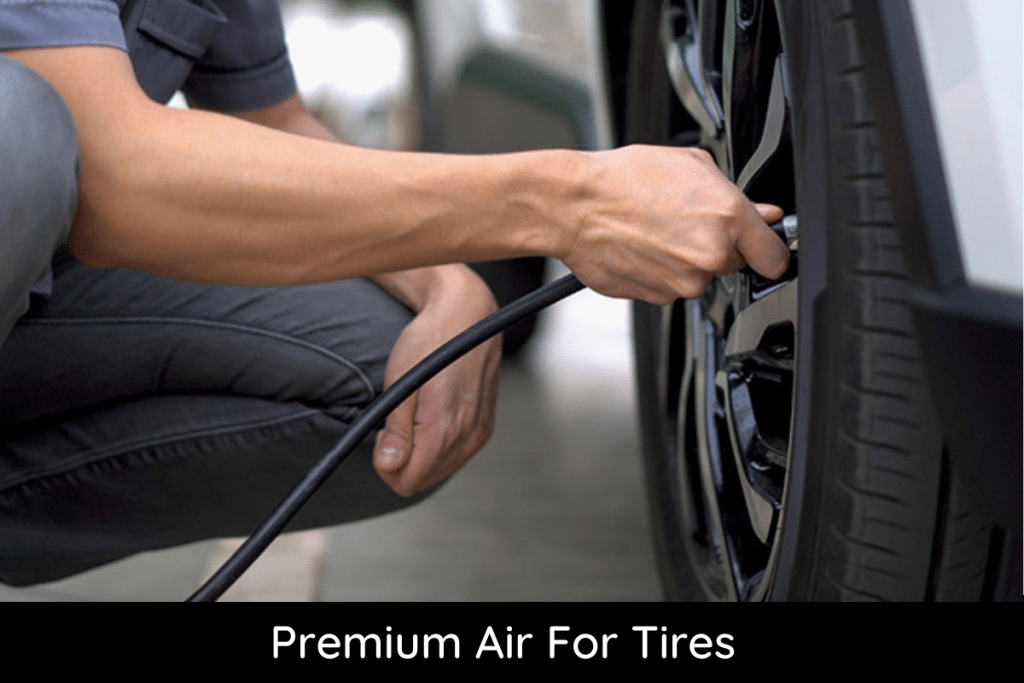
- To find the leak without water, you need to pressurize your car’s tire with air. If you have any tire inflator air tool, you can inflate your tire with air until it is filled with the maximum pressure. You can find the appropriate pressure for your tire in your car’s service manual.
- Then, visually inspect your car to see whether there is any leak or not. A hissing noise is an indication that air is leaking from your tire, and it may assist you in finding the leak. Even if you don’t notice a problem right away, you might be able to hear it. A hissing sound indicates that air is escaping from your tire and can help you find the leak.
- If the tire is losing its pressure with a hissing sound, you can locate the leaks and mark them with a chalk or marker.
Finding a leak with soap and water
It is the simplest way to find the exact location of the leaks. For this, you need to mix soap and water in a bucket. Fill the mixture in a spray bottle to spray on the affected tire. You just need to spray the mixture on the inflated tire until there are any bubbles created.
If you see any bubbles mounting to the car, you can easily find the location from where the bubbles are coming. To find all possible leaks of the tire, you can spray on the surface of the tread and all around the tire.
Step by Step Guide on How To Patch a Car Tire
Remove the tire
In most vehicles, if you have to find your spare tire, they are often positioned in the trunk unless you have an SUV or truck, where it will be found under or behind the vehicle.
Before you remove car tires, inspect under the vehicle and search for the folded parts of metal – that’s going to be your jack point where you put the jack. You could lift up the jack a bit since it’s a lot simpler to do it outside than under the vehicle.
Once you’ve got the jack into position, don’t jack up the vehicle yet. What you should do now is break the torque on the lug nuts. Just keep in mind that going right means making it tighter, and going left means making it looser.
Now that your lug nuts are adequately loose, you may now begin jacking up the vehicle. Once the tire is lifted off the ground, you can remove the lug nuts and pull the wheel out.
Now it’s time to release the tire.
Firstly, remove the valve stem core by removing the nut with a valve stem core remover. Use a valve stem core remover to remove the valve stem core. The tire pressure is released, allowing you to break away from the bead.
Then, remove the tire by using a tire spoon and a hammer to bust the seal that confines the tire and rim. Smash the bead that secures the tire and rim with a tire spoon and hammer on both sides of the wheel to remove the tire.
After removing one side of the tire, flip it over and use the spoons to pry the opposite side off of the rim. Your tire will now be totally detached from the rim.
Patching the tire
Now, it’s time to patch the infected tire. To patch the tire, you need a patch kit.
Use an air die grinder to roughen the side by selecting a pointy bit. In this way, you can clean the affected area so that you can fix it properly. Remember, a single leak can cause a serious accident.
You can use vulcanizing cement to the buffed part of the hole. It will prevent water from entering the deflated tire. Wait for a while until the cement is dry. Now, take a patch and remove the plastic from the sticky side. Then roll a roller on the inside of the patch.
The roller will remove all the bubbles between the sticky and the buffed surface. It will also seal the tire so that the leak will be repaired.
Testing the patch
Now, you need to test the patch whether there is any air escaping from it or not. For this, you need to start by inflating your tire and keep a close eye. Listen carefully to whether any hissing sounds are coming from the tire or not.
If you are still confused about the patch, you can perform leak testing again by spraying the soapy water all over the tire.
Reinstalling the tire
After you are completely certain that you have fixed the deflated tire’s, you can reinstall the tire to its actual position. The process is almost the opposite of the removal of the tire. You can either follow the instructions to remove the tire in a reverse way, or you check the following instructions.
You can begin reattaching the tire onto the wheel rim and place the lug nuts back to their spots. Before it, please lubricate the inner ring that seals to the rim with dish soap. Slide your repaired tire back over the rim. If you have a set of new valve stem cores, use them on the blank hole of the valve stem core. Try to avoid reusing the same valve stem.
Fill the tire to the recommended pressure shown on the tire’s sidewall or in your owner’s handbook. This pressure will nudge the tire into position on the rim and seal the bead.
Now, it’s time to reinstall the wheel as well. You should slide the wheel back onto the wheelbase and thread the lug nuts on tight enough to hold the wheel in place while the car is still on the jack stands.
Now, remove the jack stands. That’s it. You have now reinstalled your repaired tire instead of the deflated one.
When the weight has been redistributed to the wheels, use a lug wrench or an impact wrench to tighten the lugs to their specified torque values in your repair manual. Make sure you tighten lugs in a star pattern.
Repairable Tires
A tire can be repaired if:
- It is punctured in the puncture repair zone of the tire (underneath the “non-repairable tire” heading)
- The TIA and USTMA rules forbid tire patching.
- The puncture isn’t more than 1/4 of an inch in diameter.
- If the damages do not overlap, or if the injuries are not adjacent to each other, your veterinarian may be able to repair them.
Non-Repairable Tires
The tire could not be restored in certain circumstances due to the location or degree of the harm. It’s time to buy a new tire if the tire meets any of the non-repairable criteria listed below.
Puncture outside repair area
- If the tire is punctured outside of the Puncture Repair Area (see image), it will not be possible to repair it safely.
- Most automobile tire repairs are made by the tire’s middle, or “crown,” part.
- The tread center is the crown, defined as the point one to one-and-a-half inches from each shoulder. The first major groove can also define most tires’ puncture repair region on both shoulders.
Size of puncture
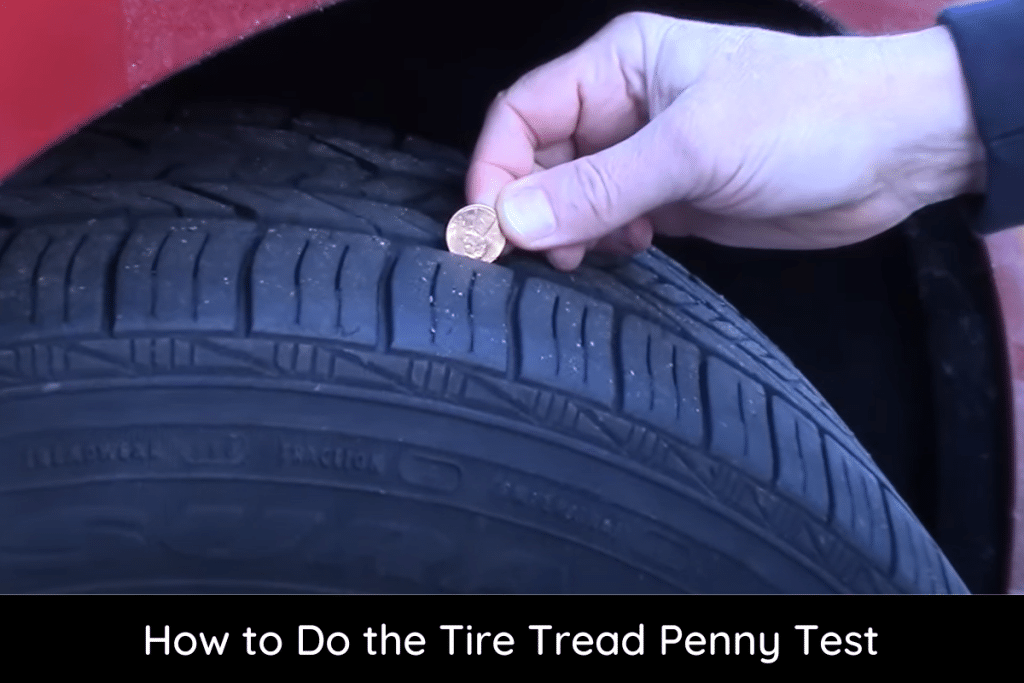
- The maximum repairable damage size for passenger and light truck tires in load range E is 6mm, or 1/4 inch in diameter.
- If the puncture in your tire is larger than the permissible repair size, it must be replaced.
Bulge or bubble in the sidewall
- If you see a bubble in the tire’s sidewall, it’s most likely due to striking a curb, pothole, or another sort of road hazard.
- The bulging or “bubble” in the tire’s sidewall is not fixable, and the tire must be retired.
Industry Standards for Tire Repairs
The U.S. Tire Manufacturers Association (USTMA, formerly known as Rubber Manufacturers Association) and Tire Industry Association (TIA) standards:
USTMA Tire Repair Basics:
- Repairs cannot overlap. A rubber stem, or plug, must be inserted to treat the puncture damage, and a patch must be applied to seal the inner liner. A one-piece combination repair unit with a stem and patch is a typical option.
- Not all tires can be repaired. Tire manufacturers and/or tire services sometimes make specific repair limits.
- A tire that needs to be replaced should never be fixed; the tire must be destroyed instead.
- A hole by itself is an inadmissible repair, as is a gap on its own.
- Outside-in repairs, such as changing a tire or rotating them, are never done.
TIA Tire Repair Basics:
- The only way to mend a tire is to remove it from the rim and inspect it on the inside, then replace the damaged stuff with rubber and the inner liner.
- A plug by itself or a patch by itself is not an acceptable repair because the plug does not permanently seal the inner liner, and the patch does not fill the void left by the penetrating object, which allows water to enter the body of the tire and start corroding the steel belts.
- Because of the same reasons, sealants or life-saving inflators that include a sealant are not advised as permanent remedies for a flat tire.
- The tread center is the only place where puncture repairs are permitted. If there are holes or damage in the shoulder or sidewalls of the tire, it can not be repaired.
- If the damages are near enough to overlap or are directly across from each other, the tire cannot be fixed and must be replaced.
- When repairing tires with a tread puncture more than ¼-inch (6mm).
Tire Patch or Tire Plug
Plug the Hole
If the hole is tiny, as it may be after a nail or screw punctured it, you can plug the tire; however, larger holes will need to be sealed. A tire plug kit includes two T handles: one with a point and a smooth shaft and the other with an “eye” at the end.
Attach the smooth-shafted T handle to the valve stem, remove the tire’s plug from it, and slide it over the inflated pressure. Next, thread a plug through the eye on the smooth-shafted T handle. Insert the T handle without an eye into the tire’s hole three or four times.
Pull out the T handle. Remove the T handle and insert the plug-loaded T handle into the tire hole. The plug will stay in place, with a view of it from outside the tire.
Patch the Tire
You can patch a tire yourself, but bringing your car to a tire shop is also better. To apply the tire patch, you must remove the tire from the rim and the tire from the wheel. This is a job that someone without extensive experience can accomplish, but it might be complicated.
If the hole is too big to plug, you shouldn’t attempt to drive into it. A hole that’s large enough for a repair patch will soon leak. Bringing the tire to a tire repair shop is the simplest and most effective method to prevent damage to your rim.
Remove the damaged tire and wheel and substitute the spare if you must drive the car. If you don’t have access to another means of transportation, carefully remove the tire and wheel before transporting them to a tire repair shop to be repaired safely.
Conclusion
Patching your deflated tire is a good idea. However, replacing your deflated tire with a new one is the best solution to avoid accidents. For this, you can keep the extra tire to use in an emergency.
Author
Last update on 2026-05-28 / Affiliate links / Images from Amazon Product Advertising API