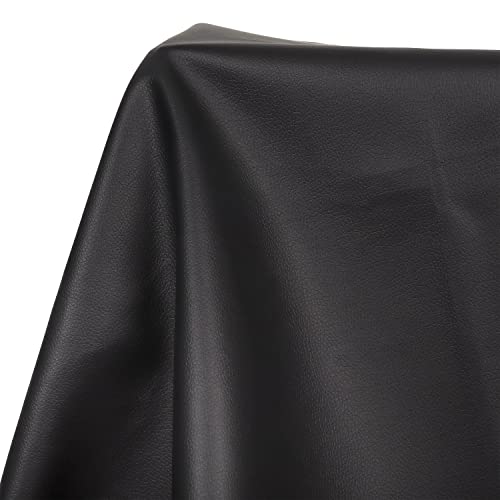
If you are the owner of a car with leather upholstery, or you are thinking about replacing your upholstery with leather, then you’ve come to the right place.
This article will provide you with a step-by-step guide on how to replace, restore and take care of your leather upholstery.
Why You Should Consider Replacing the Seats in Your Car
There are many reasons why you should look to change the seats in your car. For example, leather seats have a particular style and quality, which cannot always be achieved from cloth seats. Contrary to popular belief, leather seats offer great value when cleaning them; they are easier to maintain as often the surface can just be wiped clean.
If you are looking to beautify your car, truck, SUV, or any other automotive vehicle, then customization of your upholstery with leather seats would help set it apart from other such vehicles and help to give your car that personal look.
Another reason to replace your cloth seats with leather is that this type of upgrade will keep the car looking good for longer as when real leather wears, it’s not a negative as leather looks better as it ages.
Different Kinds of Leather Upholstery
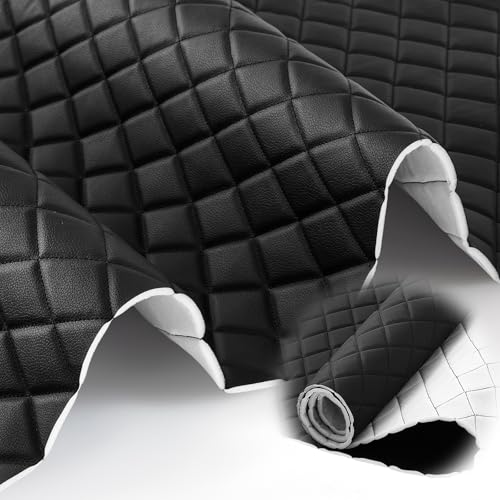
As with most automotive industry-related things, there are plenty of choices. A leather interior is no different, as there are many kinds of leather to choose from. For example, you can opt for quilted, flat panel, assembled panel, custom, universal, or something more bespoke.
The choices are infinite as you can also pick the type of stitching you prefer, the color, and the quality as specific hides will cost more than others. When deciding on installing your leather interior, it is worth checking an installation guide to see if the best fit method exists.
Tools Required for Replacing Upholstery
There are a number of specialist tools that are required when replacing upholstery. Tools such as a fine point bradawl, staple remover, C cramps, tape measure, soft grip pincers, webbing pliers, and a hole punch are just some of the specialist tools that an upholsterer will use when replacing car-related upholstery.


Step-By-Step Instructions for Replacing the Upholstery
To replace your car leather upholstery, you need to be fairly sure that you have the appropriate skills and tools to be able to do it yourself if you want to embark on this project.
However, it is highly advisable that for this type of restoration, the replacement needs to be undertaken by a professional so the installation is straightforward and completed to a professional standard. The benefit of this is that they will already know the correct steps to follow whilst you will be able to enjoy the finished product. If you still feel that you want to complete this as a DIY project, here are some instructions for you to follow:
- Make sure that you have the right tools for the job as this will ensure that you are able to finish the work to a high standard.
- Locate all the bolts that hold the seats to the car. Remove these bolts but make sure that you note down where each bolt was removed from. If the vehicle has heated or electric seats, make sure that you unplug the wire before you remove the seats. This is often located underneath the seats.
- Completely remove the seats from the car.
- Once the seats have been removed from the car you will need to start removing the trim. Pay particular attention to how the seat trim was attached to the seat so that you can use a similar method when you need to put it back in again.
- Once the upholstery has been removed, it is a good idea to measure it to see how much leather you will require for the reupholster. Some people like to use the old seats as a template for their new seats.
- Once you have attached the new leather to the seats, reinstall them in the same way you took them out. Remember to reattach any electric seats or airbag modules too.
Tips on How to Care for Leather Interior
Once you’ve had your leather upholstery installed, you will need to take care of it in order to keep it in its full lustre. Cleaning and protecting the leather is paramount so therefore you could look to purchase a leather cleaning kit that will have a step-by-step instruction manual provided with it. Some additional tips for you to consider are:
- Always use a clean, non-abrasive cloth.
- Only use approved leather cleaners.
- After cleaning has taken place, be sure to use a good quality leather balm to seal the surface of the leather.
Tips for Minor Repair of Leather Upholstery
In the unfortunate event that you tear or damage your leather upholstery, there are certain tips that you can follow to try and repair the damage.
If it is a tear that you need to repair, the area can be patched together and glued. You will then need to use a heavy filler to smooth over the joining line. Once the filler has dried, a colorant needs to be added so that the surface blends together.
If the damage is color fading, you can add a colorant to bring the leather back to its original color.
Three of the Most Popular Manufacturers of Car Leather Upholstery
Yarwood, Trasncal, and Muirhead are the biggest names of car leather upholstery. They offer the finest quality leathers, which can be personalized to suit your individual tastes.
So, as you can see from the above, having leather in your vehicle is a great way to customize your vehicle and give your vehicle a new lease of life while adding a touch of luxury to your vehicle.


Author
Last update on 2026-03-25 / Affiliate links / Images from Amazon Product Advertising API